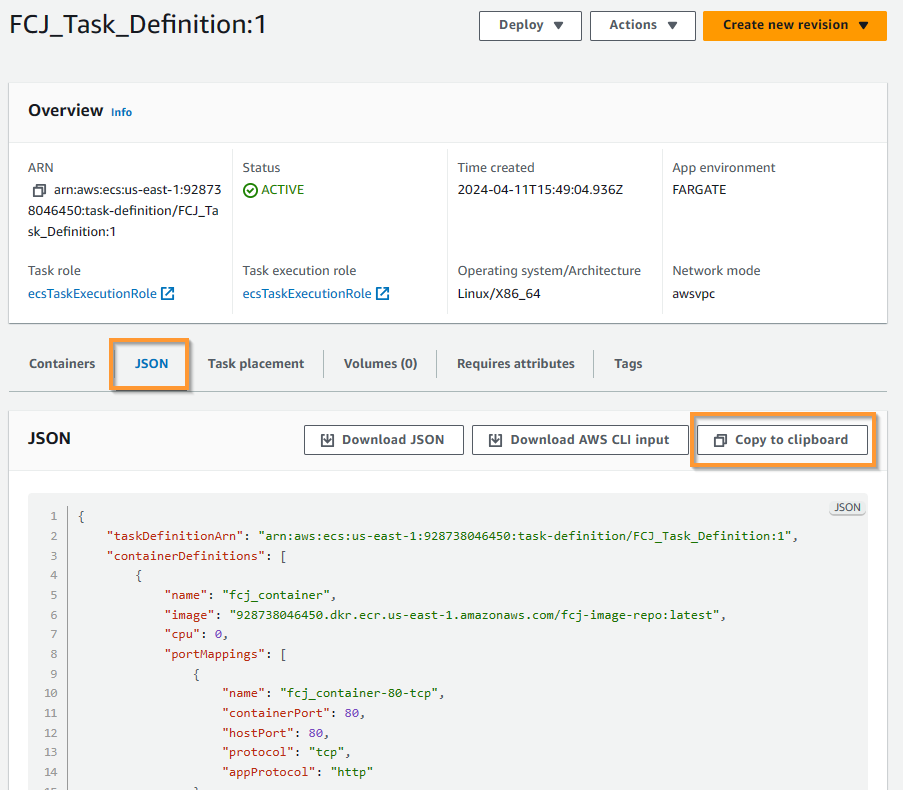
Access AWS ECS, go to Task definitions, and select the task FCJ_Task_Definition that you have created. Select the JSON tab, then Copy to clipboard.
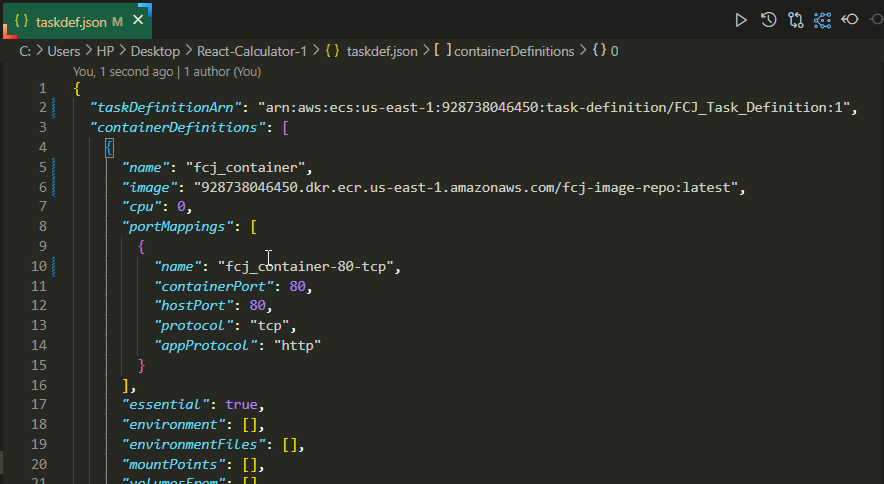
From the source code, open the file taskdef.json in your IDE. Replace the entire content in that file with the task definition you copied in step 1.
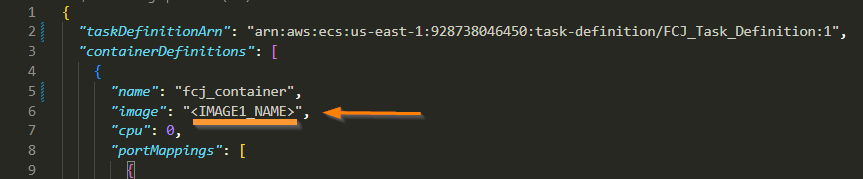
At line 6, where the key image is located, replace its value with <IMAGE1_NAME>.
Scroll down to the end or search in the IDE for the term tags, you will find “tags”: [], delete it.
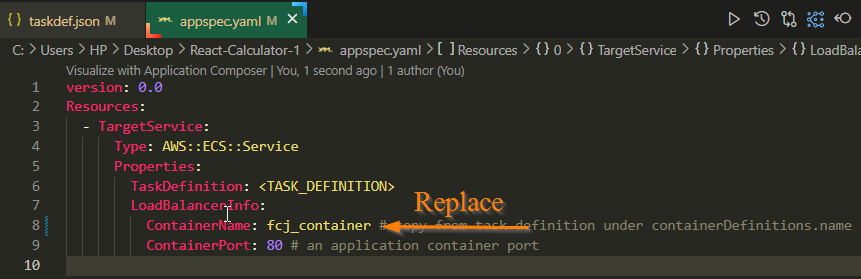
Open the file appspec.yml, at line 8, ContainerName, replace the value with fcj_container. This is the container name you set in step 5 of section 6.2, you can also find “name”: “fcj_container” in the task definition in the file taskdef.json.
Push the code to the repo:
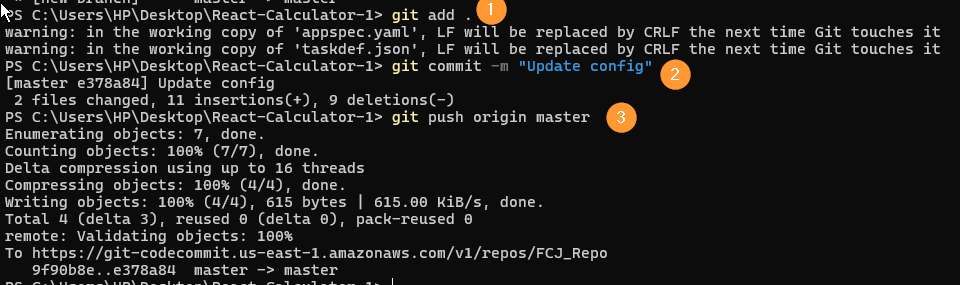
Run git add ..
Run git commit -m "Update config" to commit the code locally.
Run git push origin master to push the code to the repo on CodeCommit.
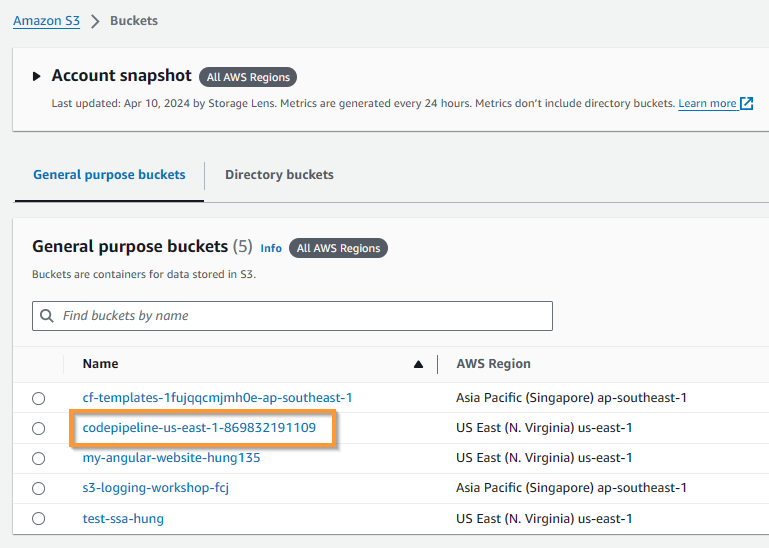
Open your pipeline and observe. After all stages are successful, access AWS S3, find and select the bucket codepipeline-us-east-1-……. This is the bucket that CodePipeline creates to store artifacts. Each region will have a corresponding bucket for the pipeline region.
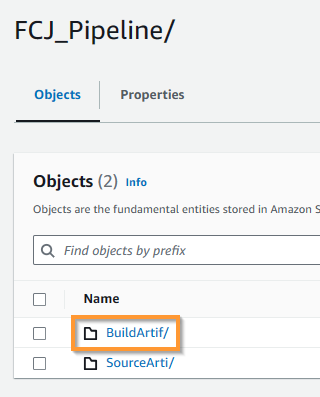
Select the folder named FCJ_Pipeline.
Select the folder BuildArtif.
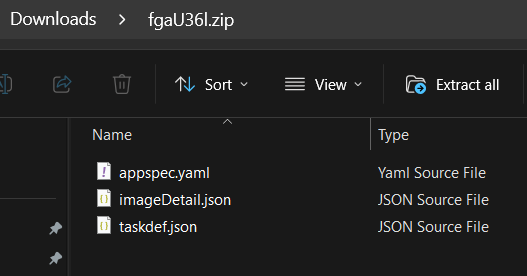
Click on the Last modified tab to sort by time, select the most recent item, click Download to download.
Unzip and check to confirm that the content is correct with what you have edited in the steps above. If so, our artifact has been built successfully.